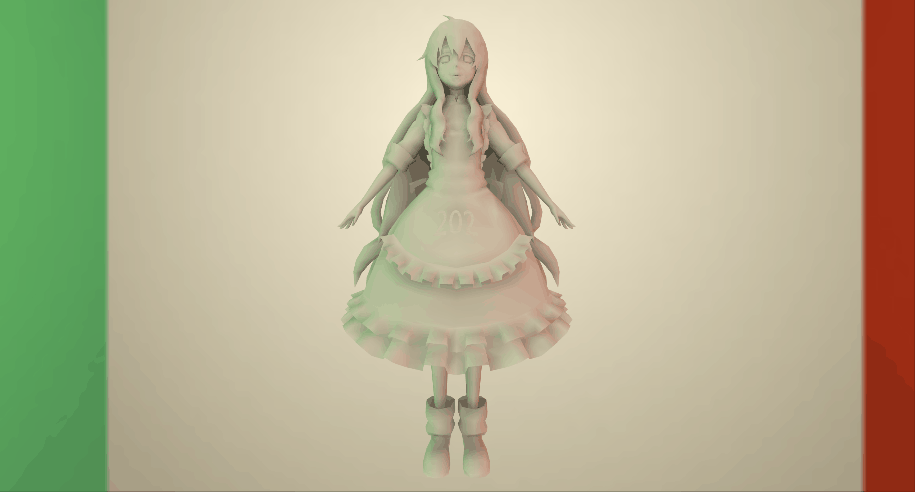
Buffer2D<Float3> Denoiser::Filter(const FrameInfo &frameInfo){ int height = frameInfo.m_beauty.m_height; int width = frameInfo.m_beauty.m_width; Buffer2D<Float3> filteredImage = CreateBuffer2D<Float3>(width, height); int kernelRadius = 32; #pragma omp parallel for for (int y = 0; y < height; y++) { for (int x = 0; x < width; x++) { // TODO: Joint bilateral filter // filteredImage(x, y) = frameInfo.m_beauty(x, y);
int x_start = std::max(0, x - kernelRadius); int x_end = std::min(width - 1, x + kernelRadius); int y_start = std::max(0, y - kernelRadius); int y_end = std::min(height - 1, y + kernelRadius);
auto center_postion = frameInfo.m_position(x, y); auto center_normal = frameInfo.m_normal(x, y); auto center_color = frameInfo.m_beauty(x, y);
Float3 final_color; auto total_weight = .0f;
for (int m = x_start; m <= x_end; m++) { for (int n = y_start; n <= y_end; n++) {
auto postion = frameInfo.m_position(m, n); auto normal = frameInfo.m_normal(m, n); auto color = frameInfo.m_beauty(m, n);
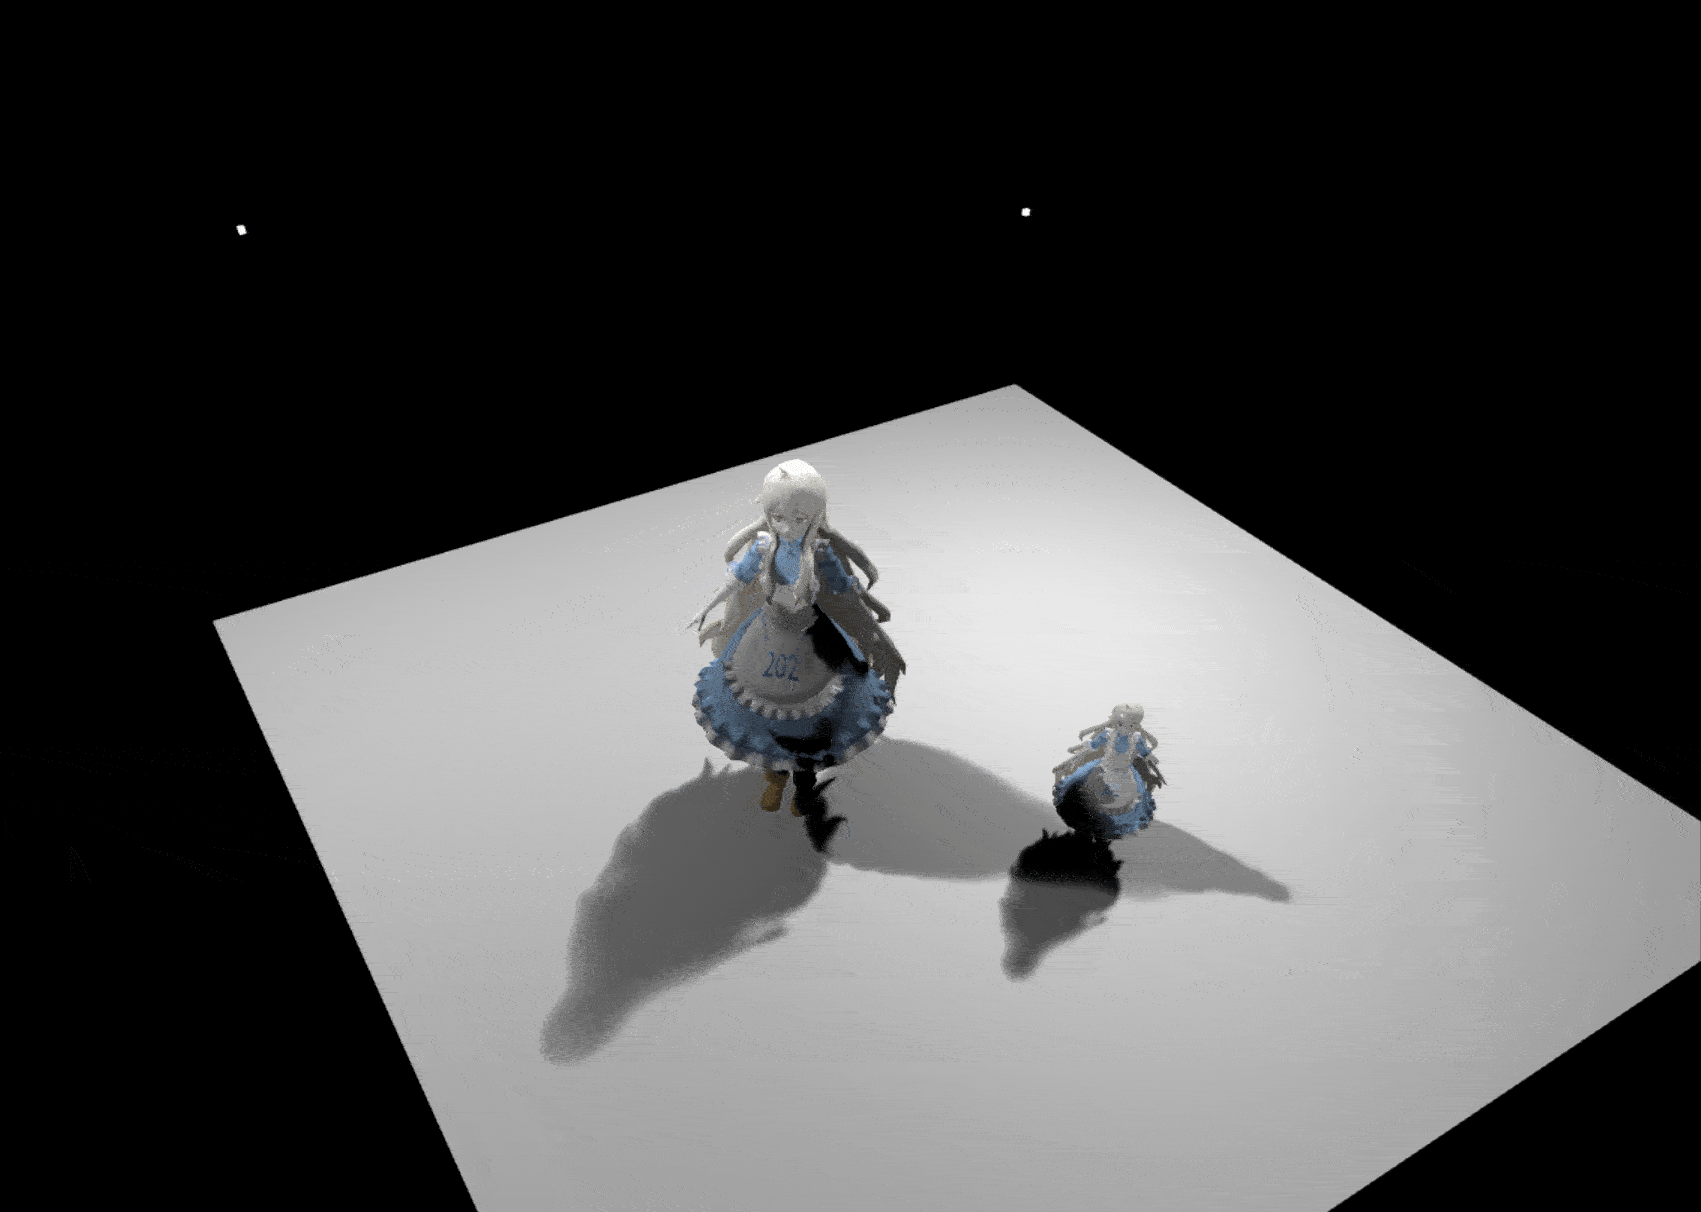
voidDenoiser::Reprojection(const FrameInfo &frameInfo){ int height = m_accColor.m_height; int width = m_accColor.m_width; Matrix4x4 pre_World_To_Screen = m_preFrameInfo.m_matrix[m_preFrameInfo.m_matrix.size() - 1]; #pragma omp parallel for for (int y = 0; y < height; y++) { for (int x = 0; x < width; x++) { // TODO: Reproject m_valid(x, y) = false; m_misc(x, y) = Float3(0.f);
int id = frameInfo.m_id(x, y); if (id == -1) { continue; } Matrix4x4 world_to_local = Inverse(frameInfo.m_matrix[id]); Matrix4x4 pre_local_to_world = m_preFrameInfo.m_matrix[id]; auto world_position = frameInfo.m_position(x, y); auto pre_local_position = world_to_local(world_position, Float3::EType::Point); auto pre_world_position = pre_local_to_world(pre_local_position, Float3::EType::Point); auto pre_screen_position = pre_World_To_Screen(pre_world_position, Float3::EType::Point);
voidDenoiser::TemporalAccumulation(const Buffer2D<Float3> &curFilteredColor){ int height = m_accColor.m_height; int width = m_accColor.m_width; int kernelRadius = 3; #pragma omp parallel for for (int y = 0; y < height; y++) { for (int x = 0; x < width; x++) { // TODO: Temporal clamp Float3 color = m_accColor(x, y); // TODO: Exponential moving average float alpha = 1.0f;
if (m_valid(x, y)) { alpha = m_alpha;
int x_start = std::max(0, x - kernelRadius); int x_end = std::min(width - 1, x + kernelRadius); int y_start = std::max(0, y - kernelRadius); int y_end = std::min(height - 1, y + kernelRadius);
Float3 mu(0.f); Float3 sigma(0.f);
for (int m = x_start; m <= x_end; m++) { for (int n = y_start; n <= y_end; n++) { mu += curFilteredColor(m, n); sigma += Sqr(curFilteredColor(x, y) - curFilteredColor(m, n)); } }
int count = kernelRadius * 2 + 1; count *= count;
mu /= float(count); sigma = SafeSqrt(sigma / float(count)); color = Clamp(color, mu - sigma * m_colorBoxK, mu + sigma * m_colorBoxK); }


 微信
微信 支付宝
支付宝