Hexo-Butterfly主题博客搭站记录
Hexo-Butterfly主题与Wordpress-Sakura主题对比
最近把博客从Wordpress迁移到Hexo,主题也从原本的Sakura换到Butterfly,原因主要有两点:
- Butterfly主题版面可以说非常舒服,原本Sakura主题的文章排版,作为技术博客,看着有点累。
- Hexo对Markdown语法支持度非常高,对于平时都是用Markdown写文的人来说很方便,且对于有把文章发布到多个平台的需求的人来说,这一点非常重要,Markdown可以很好地统一排版格式,图片链接等。而Wordpress发布Markdown一般都是需要再编辑的(即使用上了插件),不然部分内容的展示会有问题。
上面两点是本次迁移的主要原因,但其实Hexo搭建、配置和美化的过程还是比Wordpress要麻烦很多,毕竟Wordpress是小白都可以用的一键搭站框架,后续管理也有可视化后台,Hexo除了可以统一Markdown发布的优点外,后续的维护、更新发布都没那么方便,而且发布依赖特定环境去生成静态网页,但Hexo的这个Butterfly主题实在是太合适了,而且平时写文也是在电脑上写,并不需要像朋友圈一样随时随地发布,所以对环境有要求的问题显得没那么严重,权衡了一下之后还是决定要换到Hexo来。
Github链接
- Butterfly: https://github.com/jerryc127/hexo-theme-butterfly
- Sakura: https://github.com/mashirozx/sakura
示例网站
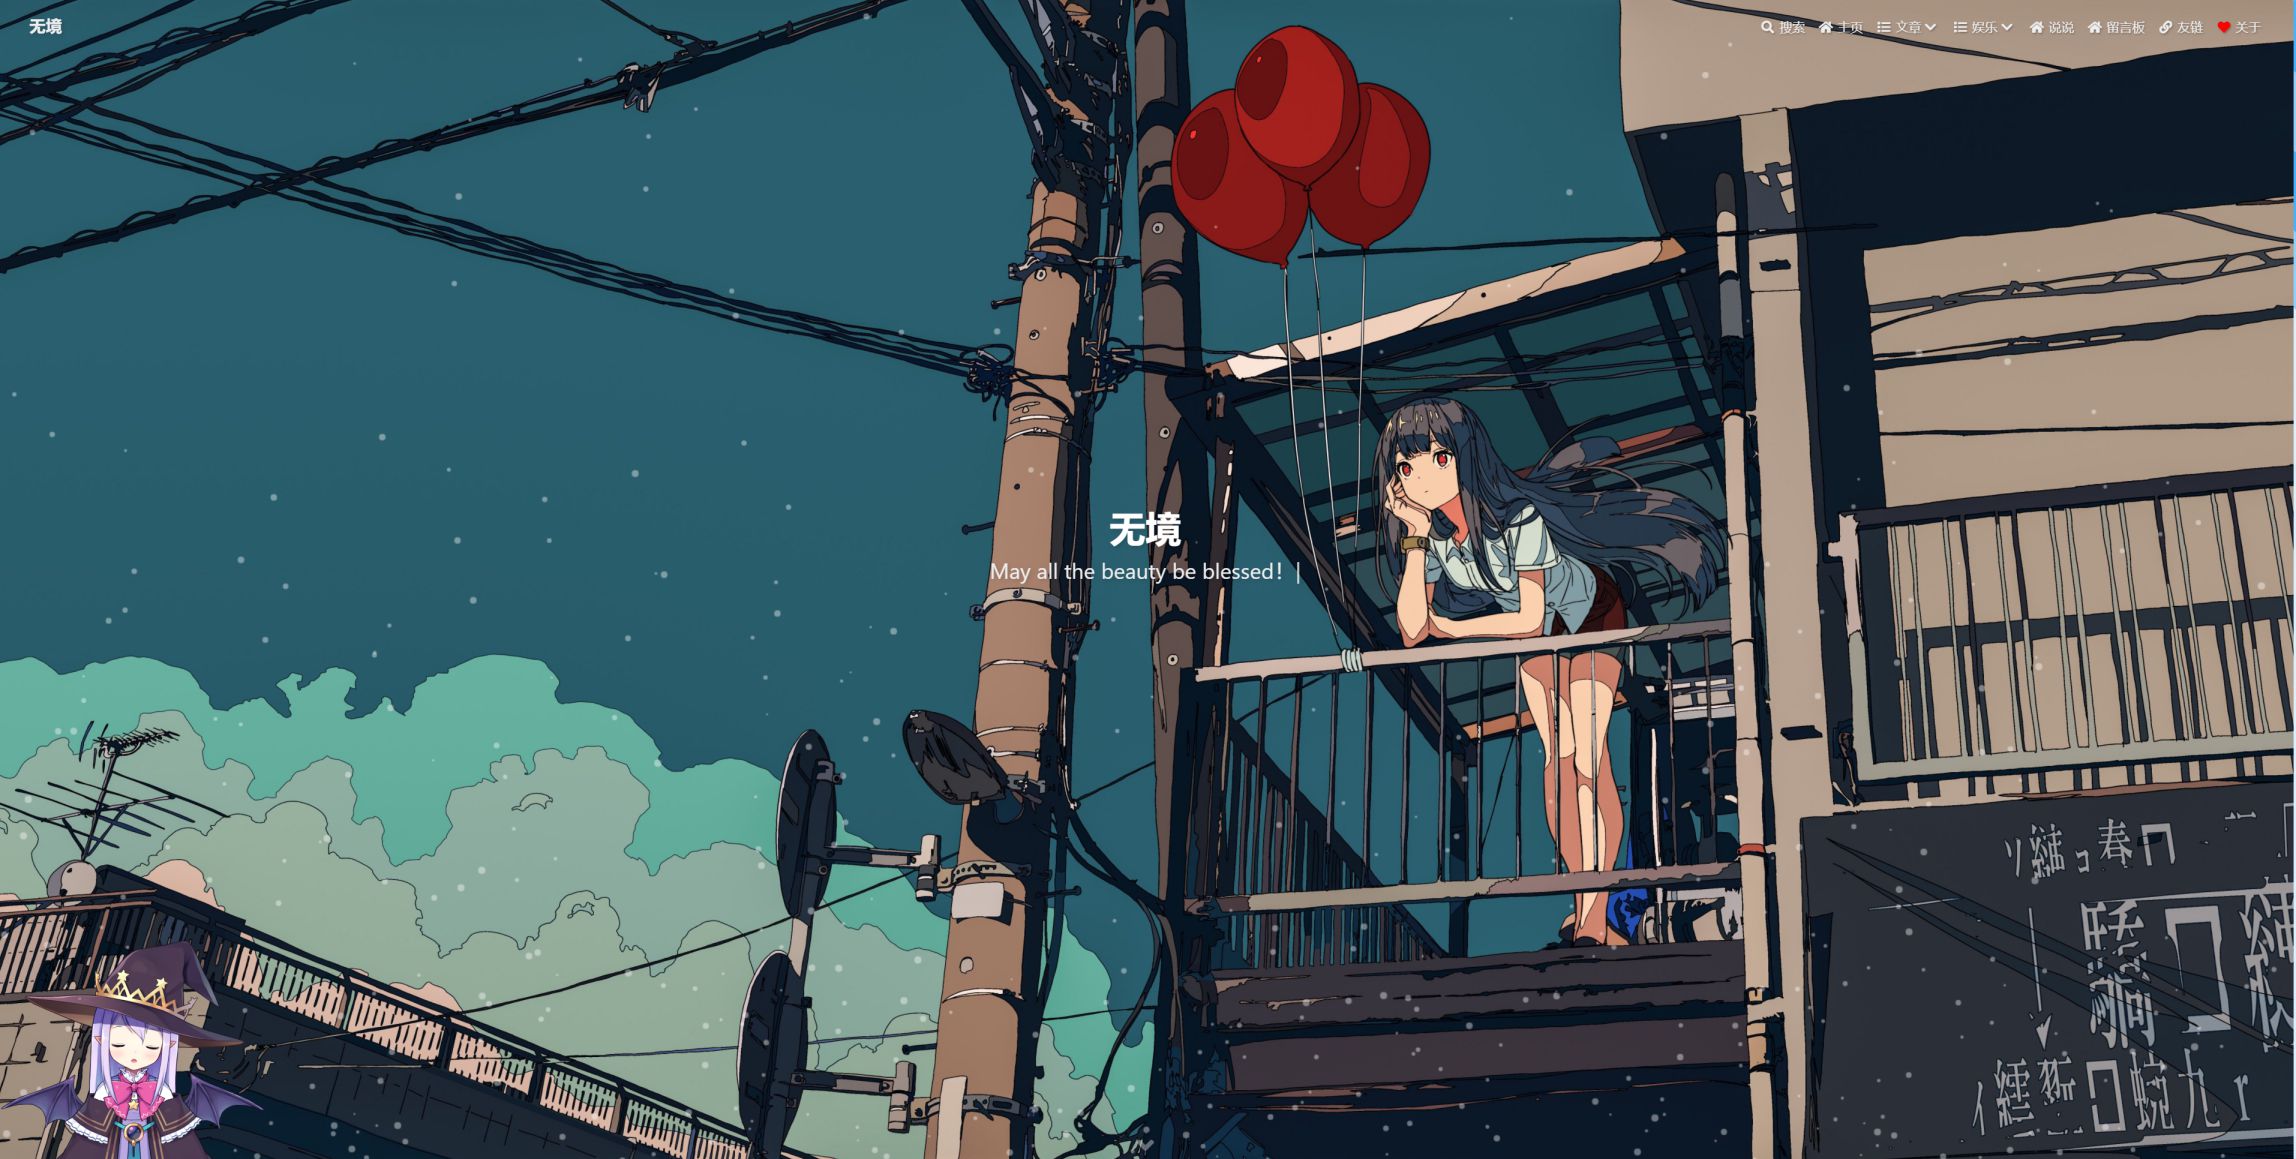
- Butterfly: https://butterfly.js.org/
- Sakura: https://2heng.xin/
Hexo与Wordpress对比
| Hexo | Wordpress | |
|---|---|---|
| 优点 | 1.体积小、速度快、性能好 2.可以直接部署在github pages上,无需购买云服务器 3.完美支持Markdown |
1.部署方便,一键搭站 2.配置扩展非常方便,可以在网站后台可视化配置网站,无需程序基础 3.发布文章方便,没有环境要求,甚至可以在手机上发布 4.方案成熟,遇到问题容易找到解决方法 |
| 缺点 | 1.更新内容需要重新生成,依赖于特定环境来更新内容,若更换电脑会比较麻烦 2.搭建、配置和美化过程相对麻烦,需要一定程序基础 3.没有后端,像评论、说说等系统需要数据库的要自己另外部署 4.问题解决、美化等相关的文章相对较少 |
1.需要部署在服务器 2.相对较为臃肿 3.不直接支持Markdown,插件也不能完美支持 4.评论是重灾区,会经常有垃圾机器人评论 |
Butterfly主题与Sakura主题对比
| Butterfly | Sakura | |
|---|---|---|
| 优点 | 1.画面简洁大方,文章排版舒服 2.提供了内容丰富的侧边栏 |
1.二次元 2.内置了看板娘、时光轴等,配置方便 |
| 缺点 | 1.配置起来没那么方便 | 1.文章排版信息密度低,分界不清晰,不适合技术文 2.主页缺少侧边栏,不能提供分类、标签等内容入口和其他有效数据展示 |
搭建
Hexo搭建
完成以上步骤即可通过自己的github.io地址访问到自己的博客,此时为默认主题
注意,从2020年10月1日起,github新的源代码仓库命名都有原来的“master”改为“main”,如果你的博客仓库是新建的,那么注意上文中的说到的_config.yml配置中的deploy的branch需要设置为main
另外仓库需要设置为public的,github pages设为private的话,需要付费才能正常使用
安装Butterfly主题
上面链接为Butterfly主题的官方文档,务必把文中文档目录的每一项都仔细看完,并根据个人需求去配置,基本可以完成主题的配置
建议以Git的方式去安装,用npm方式安装的话,安装完主题会在node_modules目录中,而这个目录一般不提交到Git,会影响版本管理和自动部署
评论
Butterfly主题本身支持了很多个评论系统,个人选择的是Twikoo
部署
参考官方文档:https://twikoo.js.org/
想免费部署直接看Vercel部署介绍
评论邮件提醒

在评论设置面板中配置
实现评论图片点击放大
Butterfly主题可以更改主题目录下layout/includes/third-party/comments/twikoo.pug
第一行添加
1 | link(rel='stylesheet', href='https://cdn.jsdelivr.net/npm/lightgallery@2.1.8/css/lightgallery.css') |
修改const init为
1 | const init = () => { |
参考:集成 Twikoo 与 lightGallery 插件,实现评论图片的点击放大下,用户Heo的评论
其他扩展
说说
Artitalk有普通版本和Pro版本,Pro版本支持侧边栏显示
Artitalk Pro文档上写着option.serverURL是替换appID前八位,实测是最后八位。。难以想象。。。
本地搜索

安装插件:
1 | npm install hexo-generator-search --save |
在Butterfyl主题配置文件_config.yml文件中找到如下内容修改enable:为true
1 | # Local search |
备案信息
找到主题目录下的layout\includes\footer.pug文件,添加以下两行代码:
1 | #footer-wrap |
美化
主页冒泡特效
guole’s Blog - Butterfly美化日记/页面美化/插件美化/踩坑经历 - 主页冒泡特效
社交图标
- Butterfly支持 font-awesome v5图标
- 阿里巴巴矢量图标库:https://www.iconfont.cn/
- 社交图标修改,参考小嘉的部落格-关于我 Butterfly 主题的所有美化 - 社交图标
Github贡献
侧边栏电子时钟
bilibili追番页面
- 注意这个要在b站个人空间-设置-隐私设置里,打开外部访问追番追剧的权限
- 防止请求次数过多插件不再自动获取番剧数据,所以请根据自己的需要在 hexo generate 或 hexo deploy 之前使用 hexo bangumi -u 命令更新番剧数据!
- 删除数据命令: hexo bangumi -d
留言板信封

信笺样式留言板 - akilar
在留言板中自定义页面内容
上面教程链接中提供了新版方案和旧版方案,新版方案会指定某个页面为这个信封内容,无法自定义,如果想在留言板另外加文字内容的话,可以使用旧版方案
版权信息

butterfly版权美化教程 - akilar
页脚电子钟和徽标

Native JS Timer - akilar
自定义建站时间和站名
安装完插件,配置好后会发现建站时间和站名是该教程博主的信息,我们需要手动改成我们自己的,找到node_modules\hexo-butterfly-footer-beautify\lib\runtime.js文件,拷贝一份到主题目录下source\js\footer-beautify-runtime.js,并修改文件
1 | ...省略... |
最后在主题配置文件_config.yml中,修改footer_beautify的项:
1 | footer_beautify: |
看板娘——博客核心(bushi
简单配置(不推荐)
直接在主题的_config.yml文件的inject项中添加以下代码即可:
1 | inject: |
这个方法简单方便但不能自定义
自定义配置(推荐)
到https://github.com/stevenjoezhang/live2d-widget把项目拉下来,解压到主题目录的/source中,并把解压后的文件夹命名为live2d-widget,并在该文件夹中找到autoload.js文件,作出以下修改:
1 | const live2d_path = "https://cdn.jsdelivr.net/gh/stevenjoezhang/live2d-widget/"; |
然后在主题的_config.yml文件的inject项中添加以下代码:
1 | inject: |
最后在主题的_config.yml文件中添加以下代码:
1 | live2d: |
另外,关于看板娘按钮面板的第二个按钮,官方readme.md是这样说明的:
点击看板娘的纸飞机按钮时,会出现一个彩蛋,这来自于 WebsiteAsteroids。
但本人实测效果异常,也有可能是我不知道怎么玩,总之我把这个按钮屏蔽了
找到该插件目录下的waifu-tips.js文件
1 | <span class="fa fa-lg fa-paper-plane"></span> |
以及注释以下代码:
1 | // document.querySelector("#waifu-tool .fa-paper-plane").addEventListener("click", () => { |
另外可以根据自己需要来修改waifu-tips.js 、 waifu-tips.json 和 waifu.css文件。
主题优雅魔改
主要修改内容有卡片透明度、页脚、代码字体等,参考上面网址的博客的效果
建议到仓库https://gitlab.com/DreamyTZK/static-butterfly把源码下载下来,根据个人需求修改后生成样式文件
由于他的样式文件设定了背景渐变色,这个会覆盖掉主题配置中的网站背景配置,而我需要自定义博客背景图,个人把源码下载下来后把src\css\theme路径中的common.less文件的全局背景代码注释掉了
1 | // // 全局背景 |
然后根据说明按步骤生成样式文件:
安装扩展包
npm i运行命令npm run build
此时,就会在多出一个dist目录,里面就是构建出来的样式文件。
其中dist\css目录下的index.xxxx.css文件便是我们需要的样式文件
最后把该样式文件放在主题目录下的source\css\custom目录中,并在主题配置文件_config.yml中修改以下代码:
1 | inject: |
Page页面隐藏顶部图
针对Page页面(非主页,非文章页面),隐藏顶部的top_image,从而显示大背景图,修改方法是本前端小白摸索出来的,需要改到主题源码。
修改前

修改后

修改方法
以下所有内容注意缩进正确
在路径themes\butterfly\layout\includes\custom中新建文件hide-page-header.pug,并写入以下内容
1 | hide-page-header. |
然后在对应的pug文件引入这个自定义的pug即可,引入代码如下
1 | include includes/custom/hide-page-header.pug |
修改themes\butterfly\layout\page.pug,使得默认page都生效
1 | extends includes/layout.pug |
修改themes\butterfly\layout\archive.pug,使得归档页面生效
1 | extends includes/layout.pug |
修改themes\butterfly\layout\category.pug,使得具体分类页面生效(在分类页面,选中某个分类后的页面)
1 | extends includes/layout.pug |
修改themes\butterfly\layout\tag.pug,使得具体标签页面生效(在标签页面,选中某个标签后的页面)
1 | extends includes/layout.pug |
隐藏top_image后,页面标题可能会因为背景图太亮而看不清,可以视具体情况修改标题字体属性
在themes\butterfly\source\css\_layout\head.styl,找到以下代码:
1 | #site-title, |
个人调整了阴影属性,修改如下:
1 | #site-title, |
这样在浅色背景下就能更清晰看见页面标题
把Hexo源码托管到Github
根据Hexo搭建步骤搭建完Hexo后,通过Hexo d指令可把生成的文件提交到指定git仓库上,但注意这只是提交的生成后的内容,而对于Hexo本身的源码,以及我们对源码做的修改是没法进行版本管理的,且一旦更换机器,我们便失去了原本生成发布的环境。为了方便对源码进行版本管理,且更换机器环境后可以快速部署我们的博客环境,可根据上面链接操作,把Hexo源码托管在Github Pages的仓库的另一个分支上,此后若更换环境,只需要把该仓库分支chekout下来,并在该仓库本地目录下输入指令:
1 | npm install hexo |
即可完成新环境下的Hexo部署
利用 GitHub+Actions 自动部署 Hexo 博客
上面把Hexo源码托管到Github讲了把我们的博客源码托管到Github上,但是这样一来我们每次更新博客,都需要提交一次博客源码,以及提交一次生成文件,比较麻烦,这里我们可以借助Github Actions来帮助我们处理当博客源码分支触发推送时,会自动帮我们生成网页文件并推送到生成文件的分支,这样我们每次发布博客只需要提交一次我们的博客源码即可。
其他问题
使用hexo-asset-image插件,Markdown同步到Hexo的图片路径问题
github issue - 域名是xxx.io的情况下,图片路径会从原本/xxx.jpg变成 /.io/xxx.jpg
本地Hexo s预览无问题,hexo d后网页乱码
找到Hexo根目录配置文件_config.yml
1 | # URL |
这里注释的示例纯属误导,不应该接后面的/project,否则会在不知道什么情况下hexo d后乱码
Markdown无序列表无法正常显示
正常显示:

异常显示:

最后定位到是artitalk pro插件(支持侧边栏的说说插件,版本1.0.4),开启侧边栏时,如果butterfly主题同时也开启了自带的页面美化效果(butterfly.yml中beautify的enable为true),就会导致这一问题,个人目前是关闭说说侧边栏可以避免问题,暂时未找到解决方法。
B站追番列表插件无法加载番剧封面图片
主题配置文件butterfly.yml中开启了lazyload(图片懒加载),且field为site(整个网站)时,会加载不出,个人解决方法是把field设置为post,这样只会在文章页面开启图片懒加载,而番剧页面属于page,不会启用懒加载,就不会加载不出。
进入页面后显示的评论是上一个页面的评论,要再刷新一次才会显示本页面的评论
个人用的评论系统是Twikoo,目前存在这个问题,刚搭好评论系统的时候是没有这个问题的,不知道是不是又有哪个插件不兼容导致的,目前个人解决方法是在主题配置文件butterfly.yml中comments项开启lazyload,这样在浏览到评论区的时候才会去加载评论,可以避免这个问题。
写在最后
做个人博客,任何框架和主题都是次要的,内容才是博客的核心,不要忘记坚持高质量创作才是搭建个人博客的目的(而不是像博主这样像在玩QQ空间似的
参考
- Hexo 文档 - Hexo官方文档
- Butterfly 美化/优化/魔改 教程合集 - Butterfly美化教程集合
- Butterfly 主题美化日记 - Akilar
- Butterfly 标签外挂 - Butterfly官方文档
- 小康的 butterfly 主题使用文档 - 小康
- 基于Github使用Hexo建站过程记录 - 烟雨迷离半世殇的博客搭建记录
 微信
微信 支付宝
支付宝